
Last updated October 17, 2026
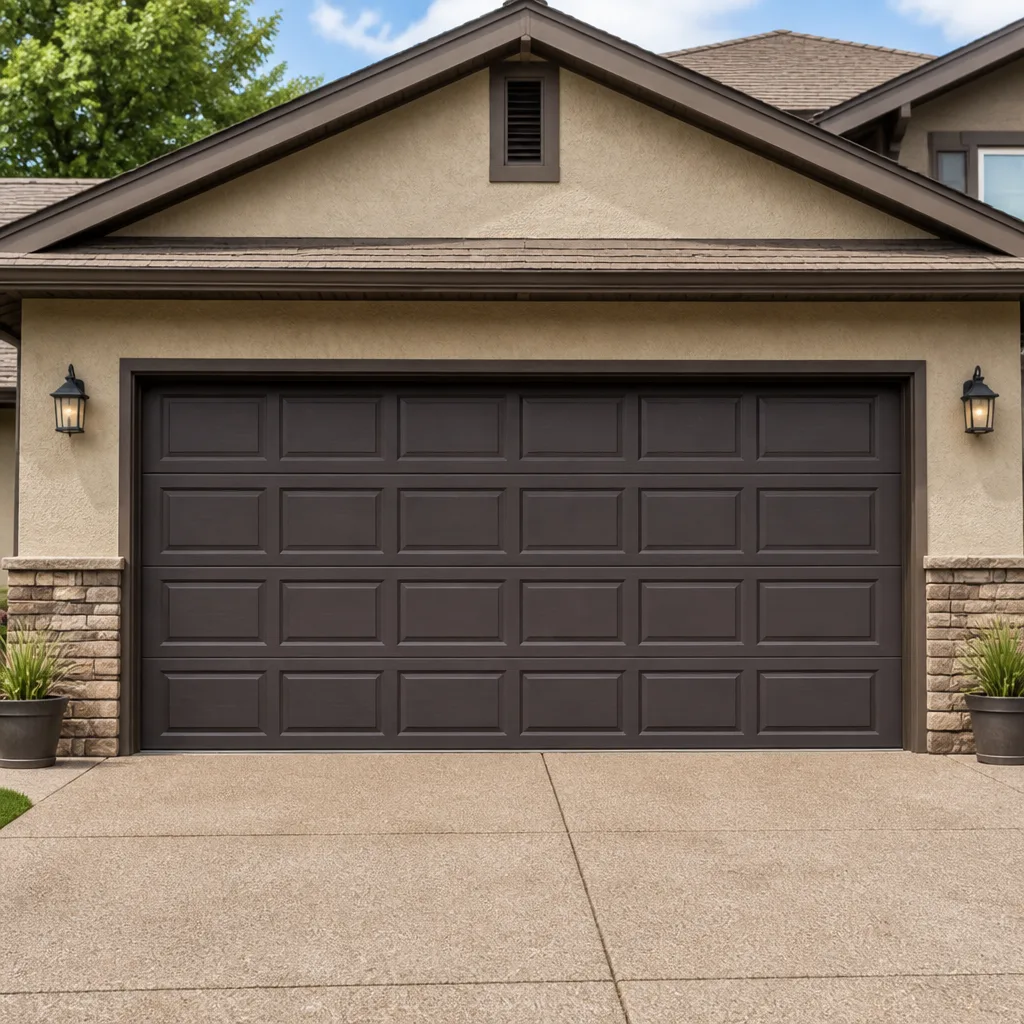 Raised-panel steel
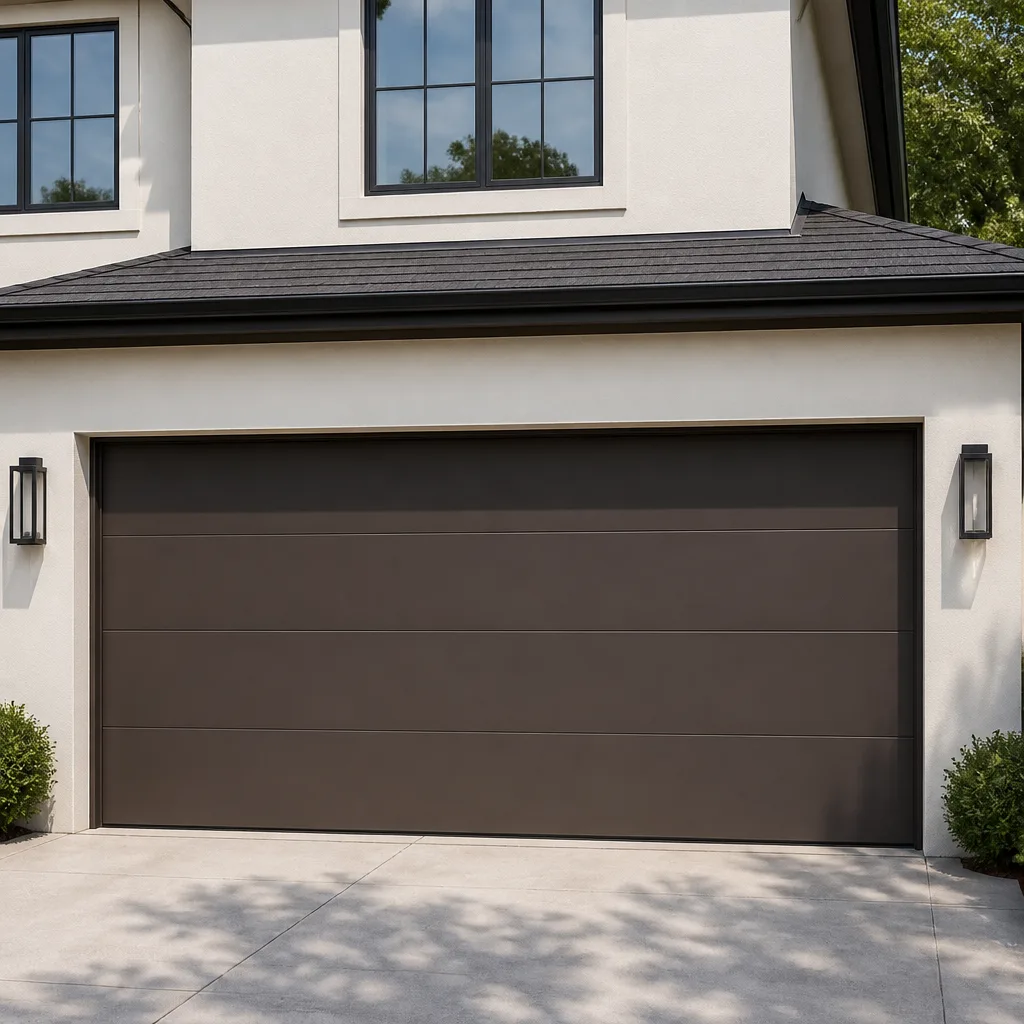 Modern flush
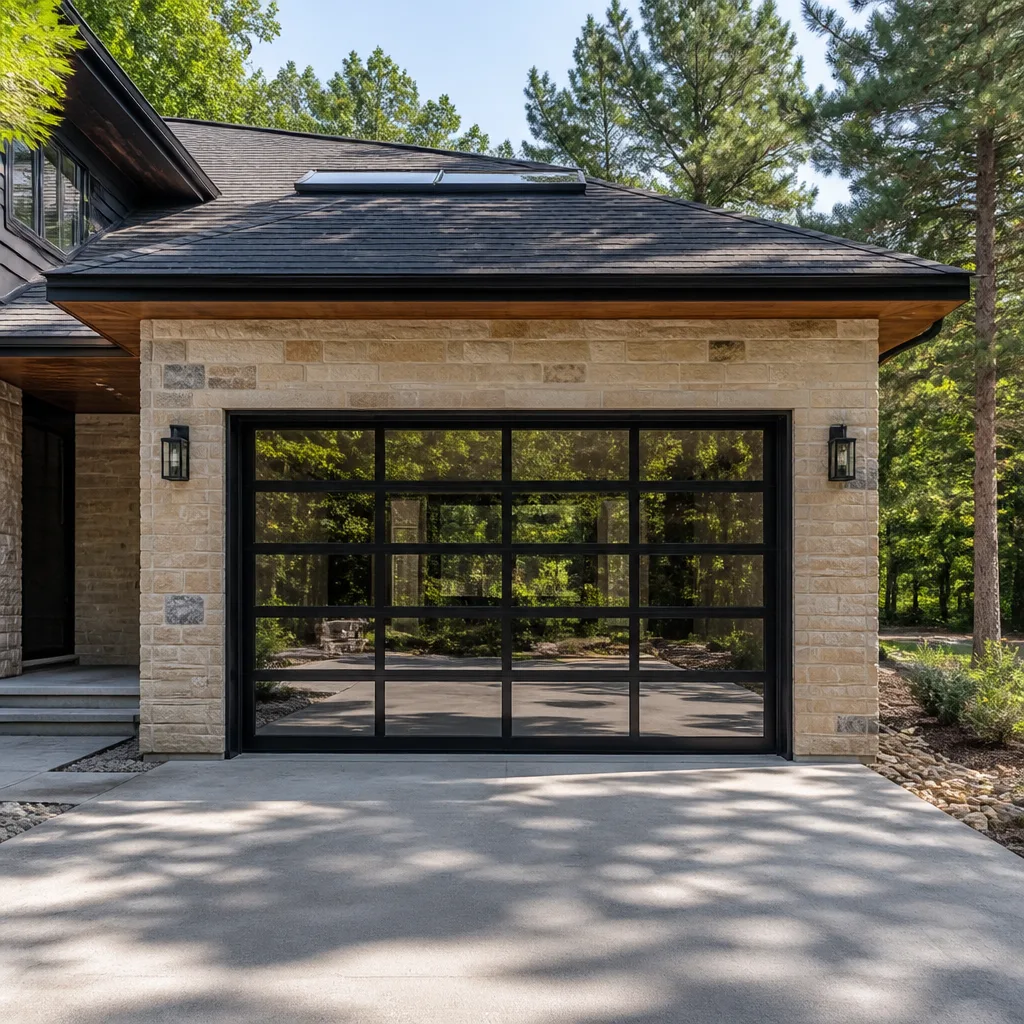 Full-view glass
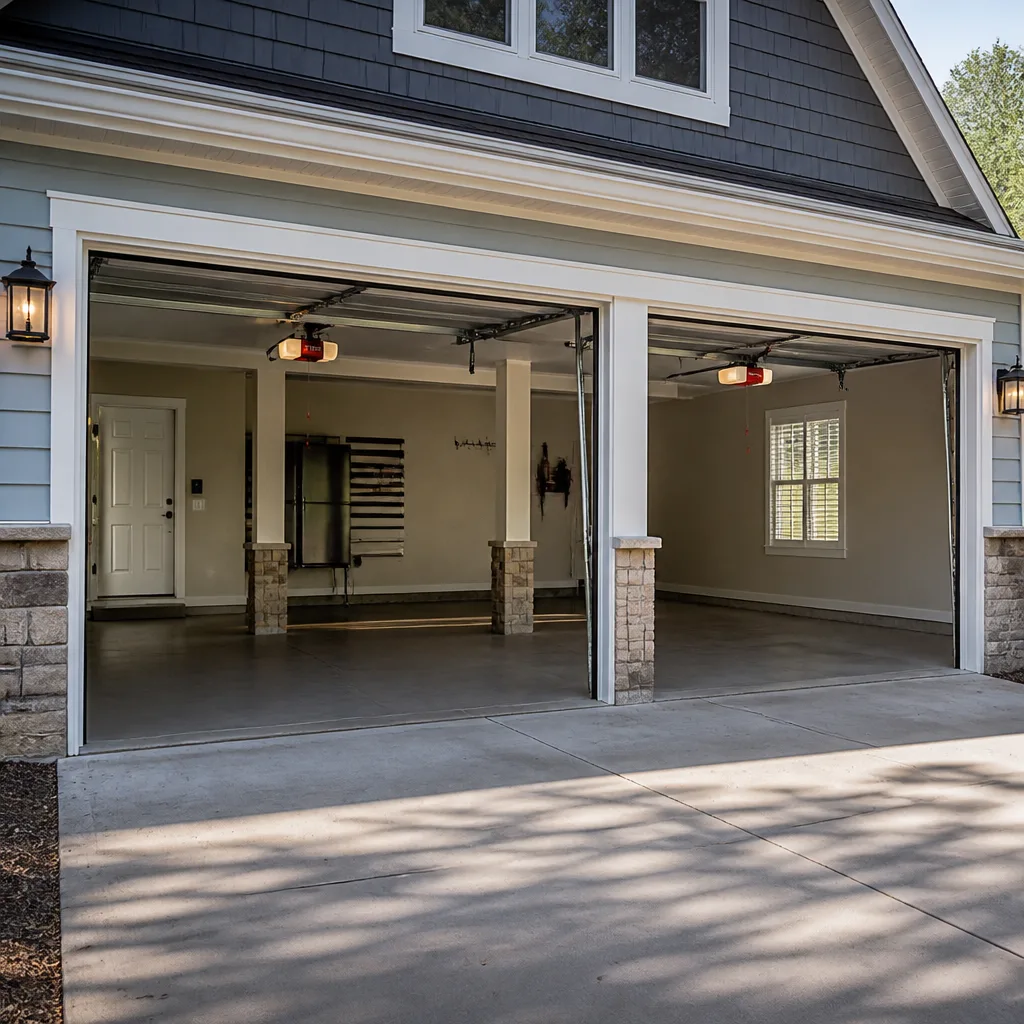 LiftMaster openers
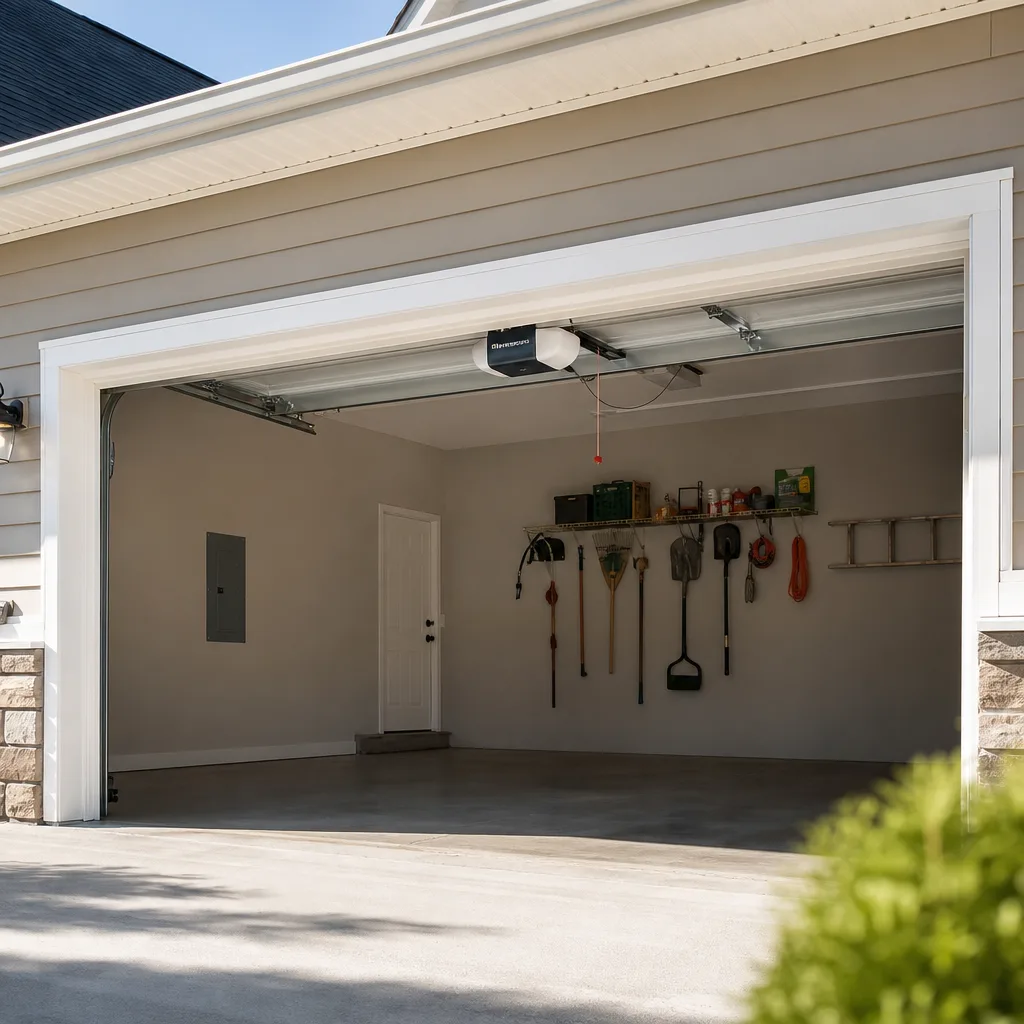 Chamberlain openers
Full 25-point door and opener safety check with every visit - springs, cables, rollers, tracks, and your LiftMaster or Chamberlain opener included
You get a price before we start. It does not change when the truck arrives.
Get your free estimateDIY vs Professional Garage Door: The Sacramento Homeowner’s Decision Guide
A torsion spring under normal tension stores enough energy to cause a serious hand or facial injury in the fraction of a second it takes to release. This isn’t a liability disclaimer. It’s physics. Understanding exactly why that one task belongs in a different category than lubricating rollers or replacing a keypad is the whole point of this guide, and it’s a distinction most Sacramento homeowners never hear explained clearly before they pick up a socket wrench. We’ve written this and more guides & resources because the real question isn’t “are you handy enough.” It’s “does this specific task carry manageable risk or stored mechanical energy.” By the time you finish reading, you’ll know which garage door jobs are genuinely approachable on a Saturday morning and which ones deserve a trained professional, no matter how many YouTube tutorials you’ve watched.
Styles & brands we work with
Quick Answer
DIY garage door work in Sacramento is reasonable for low-risk maintenance tasks like lubricating rollers, tightening visible bolts, and replacing weatherstripping, which cost $15 to $60 in materials and carry minimal injury risk. But torsion spring replacement, cable replacement, and full door installation involve stored mechanical energy or heavy structural components that can cause serious injury regardless of preparation, and a mistake on those jobs often costs more than hiring a professional from the start. Most Sacramento homeowners should handle about a third of common garage door tasks themselves and hire a licensed professional for the rest; see our Garage Door Repair Maintenance Checklist for Sacramento Homeowners for which tasks fall where.
Table of Contents
- Task-by-Task: What’s Actually Safe to DIY
- Tools and Materials That Work in Sacramento’s Heat
- The Hidden Cost of a DIY Mistake
- How to Evaluate a YouTube Tutorial
- When Hiring a Professional Saves Money on Net
- Sacramento Code and Permit Considerations
- Common Mistakes to Avoid
- When to Call a Professional
- Frequently Asked Questions
- The Bottom Line
Task-by-Task: What’s Actually Safe to DIY
The honest way to divide garage door work is by the type of force involved. Tasks that deal with gravity, friction, and accessible fasteners are generally manageable for a careful homeowner. Tasks that involve torsion springs, extension springs under load, or cables carrying that tension fall into a category where one wrong move can cause injury before you have time to react. In Sacramento, where many homes in neighborhoods like East Sacramento and Land Park have doors that are 15 to 25 years old, we see a steady stream of calls from homeowners who started a spring repair and stopped halfway through when the winding bar slipped. The classification below is based on what we’ve observed across thousands of service calls.
Safe to DIY: Lubricating Rollers and Hinges
This is the easiest legitimate garage door maintenance task, and it genuinely extends the life of your door. A can of white lithium grease or a silicone-based garage door lubricant costs $10 to $15 at any hardware store in Sacramento. Apply it to the roller bearings, hinges, and the torsion spring itself twice a year, in spring and fall. Sacramento’s dry summers and dusty conditions mean grit accumulates on moving parts faster than in coastal climates, so this task matters more here than it does in, say, San Francisco. Expect it to take 20 minutes. The risk is essentially zero if you keep your hands away from the spring while spraying.
Safe to DIY: Replacing Weatherstripping
The rubber seal along the bottom of your garage door hardens and cracks in Sacramento’s summer heat, especially on west-facing doors in neighborhoods like Natomas and Elk Grove where afternoon sun beats directly on the panel. Replacement weatherstripping costs $20 to $40, depending on the door width, and installation takes about 30 minutes with a flathead screwdriver and a utility knife. The old strip slides out of its aluminum track; the new one slides in. No tension, no stored energy, no risk beyond a pinched finger if you rush. This is a task we recommend every Sacramento homeowner learn because it recurs every 3 to 5 years in our climate.
Moderate Skill: Adjusting Limit Switches
If your door doesn’t close all the way or reverses before touching the ground, the limit switches on your opener may need adjusting. On most Chamberlain and LiftMaster models, this is done with a flathead screwdriver at the opener unit itself, following the manual’s instructions. The risk is low because the opener’s force settings, when properly configured, will reverse the door if it encounters resistance. Always test the reversal function after adjusting by placing a 2×4 flat on the ground under the door. If the door doesn’t reverse on contact, stop and call a professional. This is a task where reading the manual matters more than watching a video.
Not Safe to DIY: Torsion Spring Replacement
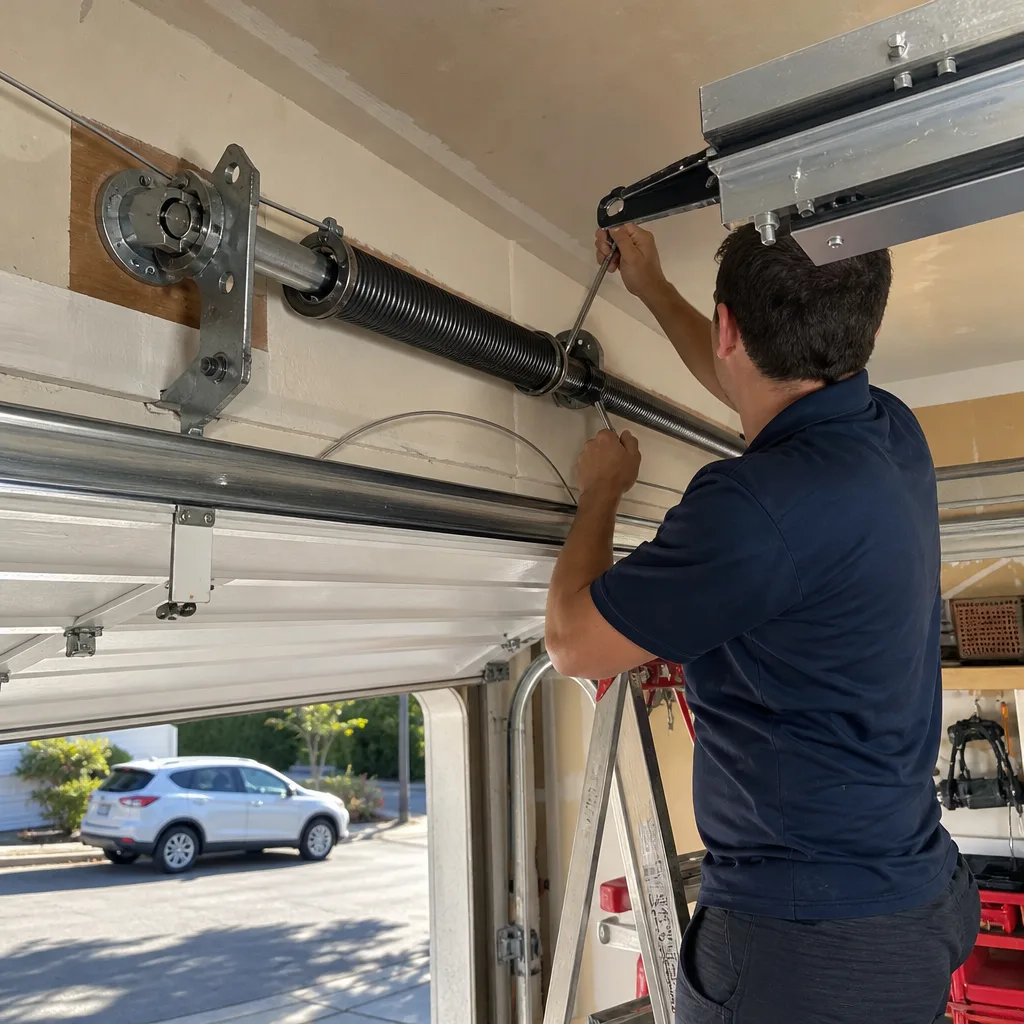
This is the line. A torsion spring on a standard Sacramento two-car garage door is wound to hold 100 to 150 pounds of torque, and when a winding bar slips, that energy releases instantaneously into whatever is in the arc of the bar. In our experience, the injuries we hear about are hand fractures, deep facial lacerations, and in the worst cases, permanent vision damage. The mechanical reason this task is different is that you are working directly against stored potential energy, and there is no way to safely release it incrementally without the correct winding bars, proper technique, and experience reading spring deflection. The springs cost $60 to $120 as parts, but the hospital bill from one mistake starts far higher. In Folsom and Roseville, we regularly replace springs that homeowners partially unwound before realizing they were in over their heads, and the damage to the bearing plates and cables from the partial attempt often doubles the repair cost. This is the single most important task to delegate, and our Garage Door Spring Repair in Sacramento guide explains exactly how the process works when done properly.
Not Safe to DIY: Cable Replacement
Cables run alongside the door and carry the full weight of the panel during every cycle. When a cable frays and snaps while the door is open, the panel can drop, and anyone underneath is in real danger. Replacing a cable requires unwinding the torsion spring, which puts you back in the high-risk category, or working on an extension spring system under tension. The mechanical issue is the same: stored energy plus a heavy moving panel. A frayed cable is a clear sign to stop using the door and call a professional. We see cables fail most often in Sacramento homes built before 2005, where original cables have been through 15,000 to 20,000 open-and-close cycles.
Borderline: Replacing a Garage Door Opener
The opener itself plugs into a standard outlet and mounts with brackets, which sounds simple. The complication is that the opener’s rail must align with the door’s center of gravity, and on a two-car door in a Sacramento ranch-style home with an uneven slab, that alignment is rarely straightforward. A misaligned opener strains the motor, strips the gears, and can warp the top panel over time. We classify this as possible for a confident DIYer with a second person to help lift the motor unit, but it’s the one borderline task where a visible misalignment can slowly damage the door in ways you won’t notice for a year. If you attempt it, use a level on the rail in three places before tightening anything.
Tools and Materials That Work in Sacramento’s Heat
Sacramento’s climate shapes what garage door products actually hold up, and generic product recommendations from national blogs often miss this. Summer temperatures above 100°F for consecutive weeks, near-zero humidity for months, and cool nights that cause daily expansion and contraction mean that materials behave differently here than in Sacramento’s own coastal neighbors. What you buy for a DIY job matters as much as how you do it.
Lubricants That Don’t Gum Up in Heat
Many garage door lubricants are petroleum-based and break down into a sticky residue when exposed to extended triple-digit heat. For Sacramento, we recommend a silicone-based spray or a lithium-based grease formulated for high temperatures. Avoid WD-40 for anything except cleaning surface rust; it’s a solvent, not a lubricant, and it strips the protective film that moving parts need. For hinges and rollers, a white lithium grease in a spray can works well and resists the dust that drifts in from the American River Parkway corridor and settles in open garages.
Weatherstripping Rated for UV Exposure
The bottom seal on a Sacramento garage door endures more direct UV exposure than any other rubber component on a home except maybe tires. Look for EPDM rubber seals rather than vinyl, because vinyl hardens and cracks within two summers here. EPDM costs about $5 more per door and lasts twice as long. When you shop, take a sample of your old seal with you to match the T-channel or P-channel profile; a mismatched channel is the most common reason DIY weatherstripping falls out within months.
Rollers: Nylon Over Steel
If you’re replacing worn rollers as a DIY project, choose nylon-encased rollers with sealed ball bearings over steel rollers. They’re quieter, they don’t wear the track as fast, and they handle temperature swings better than bare steel. A set of ten nylon rollers costs $25 to $40 and takes about 90 minutes to install with the door in the open position. This is a legitimate DIY task as long as you leave the bottom two rollers on the panel alone; those two require releasing spring tension, and that’s the line again.
Sacramento Hardware Store Reality Check
The big-box stores in Sacramento carry universal-fit weatherstripping, generic lubricants, and a limited selection of rollers, and those products work for about 80% of doors. If you have a door from Amarr or Wayne Dalton with a non-standard track profile, or a Craftsman opener with proprietary limit switch settings, the universal parts often don’t fit correctly. That’s the point where a 20-minute project turns into a second store run and a closer look at whether the parts even match your system. We stock brand-specific parts for eight major manufacturers, which is the practical difference between a job that’s done and a job that’s approximated.
The Hidden Cost of a DIY Mistake
The obvious cost of a DIY mistake is the repair bill to fix what went wrong. The less obvious costs are the ones most homeowners don’t discover until after the fact, and in Sacramento, two of them matter more than the parts themselves.
The Liability Question
If your garage door falls on a family member, neighbor, or delivery driver while it’s in an interim state, the question of liability gets complicated quickly. California homeowner’s insurance typically covers injuries on the property, but insurers can and do deny claims when the injury results from a known mechanical failure that was ignored or a repair attempted without proper equipment. Riding on a frayed cable for three weeks and then having the door fall on a visiting grandparent is a scenario where the insurance adjuster looks closely at what you knew and when. This isn’t fear-based speculation; it’s the practical reality of how claims are adjudicated.
The Interim State Problem
Every DIY garage door repair has an “interim state”: the period between when you’ve taken something apart and when you’ve successfully put it back together. For weatherstripping, that interim state lasts 30 minutes and costs nothing. For a spring or cable job gone sideways, the interim state can last days while you wait for a professional to come out, and during that time your door is either held open with a clamp (a security risk for everything in your garage) or held shut with the door disabled (a daily inconvenience for every trip in and out). In Sacramento’s summer, a disabled door on a south-facing garage in Citrus Heights or Rancho Cordova also means a garage that hits 110°F by late afternoon, which is unpleasant for anything stored inside and stressful for pets in connected spaces.
The Misdiagnosis Multiplier
The most expensive DIY mistakes we see aren’t workmanship errors; they’re diagnostic errors. A homeowner replaces the opener because the door stopped moving, when the actual problem is a broken spring that destroyed the opener’s gears as it failed. The new opener works for a week, then burns out the same way. Now the homeowner has paid for an opener they didn’t need, the original spring is still broken, and the total cost is $400 to $600 higher than a single professional diagnosis would have been. We see this pattern most often in Sacramento homes where the original builder-grade parts have aged out at roughly the same rate, so multiple components are failing simultaneously.
How to Evaluate a YouTube Tutorial
There’s excellent garage door instructional content on YouTube and there’s content that will get you hurt. The difference is knowable, and it doesn’t require a mechanical engineering degree. Here are the three things a credible tutorial will always show, and what a misleading one skips.
1. The Safety Mechanism Explanation
A credible tutorial for any tension-related task starts with an explanation of the specific mechanism that can hurt you and the exact tool designed to control it. A torsion spring video should show winding bars that fit the winding cone fully, explain the bar count per quarter turn, and demonstrate body positioning that keeps your face and hands out of the release arc. A video that shows the person’s full body in frame, winding the spring with a screwdriver or a bar that’s clearly undersized, is a red flag. A video that doesn’t explain what happens if the bar slips is teaching you a procedure without teaching you the stakes.
2. Torque and Tension Numbers
A credible tutorial gives you specific numbers: spring wire gauge, inside diameter, and the number of quarter turns required for your door’s weight and height. These numbers matter because springs are sized to the door, and a spring wound to the wrong tension will either fail to lift the door or lift it with too much force. A misleading tutorial glosses over the numbers and shows “just wind it until it feels right.” “Feels right” is how doors end up flying up, crashing down, or springs snapping within a month.
3. The Failure Mode Demonstration
The best garage door tutorials show what happens when the procedure goes wrong, either in slow motion or with a clear verbal description of the failure mode. This isn’t scare content; it’s calibration. Knowing that a slipping winding bar rotates down-and-to-the-left teaches you where not to stand. A tutorial that never mentions failure, that presents every step as inevitable and clean, is omitting the part of the craft that keeps professionals safe. The absence of failure-mode discussion is the single best signal that a tutorial was made by someone who got lucky once, not someone who has done the job a hundred times.
When Hiring a Professional Saves Money on Net
The math on DIY garage door work is straightforward for the low-risk tasks: you save the labor, you pay for materials, and your risk is minimal. The math flips on high-tension tasks, and there are specific scenarios where a professional’s written assessment saves money even before a single part is replaced.
Diagnostic Accuracy
A professional’s written assessment tells you exactly what’s wrong before any money changes hands, and that assessment matters when the problem recurs. If a garage door repair company diagnoses a worn gear, replaces it, and the door fails again two months later, the written document is what holds the company accountable. For Fernbrook, the Garage Door Repair in Sacramento process starts with a written price and a stated diagnosis, so there’s a paper trail. A DIY diagnosis that’s wrong means you own the consequence, from the wasted part to the follow-up repair. In our experience, misdiagnosis accounts for roughly half of the “fix it again” calls we take, and the homeowners involved often spent more on their first attempt than a correct diagnosis would have cost from the start.
Parts Compatibility
Garage door parts are less standardized than most homeowners assume. Springs are sized by weight, height, and drum geometry. Cables vary by length and loop type. Even rollers differ by stem length and wheel profile across brands like Raynor and LiftMaster. A professional carries multiple sizes and types on the truck, which means the job gets done in one visit. A homeowner often buys a part that’s close but not exact, installs it, and discovers the door binds or the spring settles at the wrong tension. In Sacramento, where homes range from 1950s mid-century ranches with original doors to 2020s new builds with modern hardware, the variety of door types in a single ZIP code is remarkably broad.
Warranty Protection
When a professional replaces a part, the part and the labor are typically covered by a stated warranty, and in the case of a company like Fernbrook, the whole job falls under the 365-Day Done Right Promise. If it’s not done right, it gets made right, without negotiation. A DIY part failure means you’re doing the job again on your own time and at your own expense. For a task like spring replacement, where the part cost is $60 to $120 but the labor is $180 to $340, the warranty on a professional installation is worth more than the DIY savings.
Sacramento Code and Permit Considerations
Most garage door maintenance and repair work in Sacramento requires no permit and no specialized license for the homeowner. Replacing weatherstripping, lubricating rollers, tightening bolts, and even replacing an opener are all within the scope of normal home maintenance. The line is structural modification and new openings.
When a Permit Is Required in Sacramento
- Converting a garage to living space: If you’re removing the garage door and framing in a wall, this is a building permit situation in the City of Sacramento, and the door itself is the least of your concerns. The City of Sacramento Building Division handles these permits.
- Widening the garage opening: If you’re changing the structural header above the door opening, you need engineer-stamped plans and a permit. This is beyond the scope of any garage door company and beyond the scope of any reasonable DIY project.
- Replacing a door with a different size: Swapping a 7-foot door for an 8-foot door changes the connection points and the spring geometry, and while it may not require a permit, it requires professional installation to get the spring math right. This is Garage Door Installation in Sacramento territory.
HOA Rules in Sacramento’s Planned Communities
Neighborhoods with HOAs, including parts of Natomas Park, Westlake, and many Elk Grove subdivisions, often have rules about garage door color, style, and even brand of opener when replacements are visible from the street. If you live in an HOA, check your CC&Rs before installing a new door or changing the color. This isn’t a safety issue, but it’s a cost issue: an HOA can require you to replace a non-compliant door, and that’s an expensive do-over for a project that wasn’t required to fail.
Common Mistakes to Avoid
- Using the wrong lubricant on a torsion spring. Penetrating oils like WD-40 strip the spring’s protective coating and attract dust in Sacramento’s dry climate, accelerating wear instead of reducing it. Use a lithium or silicone-based product instead.
- Winding a torsion spring without winding bars. No screwdriver, no pry bar, no improvised tool. A screwdriver will slip, and the spring will know it before you do. Proper winding bars cost $20 and are available at Sacramento hardware stores, but the springs themselves are not a DIY task.
- Replacing one spring on a two-spring system. When one spring breaks, the other is usually close behind because they’ve accumulated the same number of cycles. Replacing only the broken spring means the old one fails soon after, and you’ve paid for the labor twice instead of once.
- Ignoring slow operation as “normal aging.” A garage door that opens slower than it used to is often a signal of spring fatigue or opener gear wear, not normal aging. In Sacramento’s temperature swings, this early warning matters; catching a spring before it snaps saves the secondary damage to cables and panels.
- Buying universal parts for a proprietary system. Some Chamberlain openers and Clopay doors use non-standard sizes that universal parts won’t match. Measure before you buy, and if the part doesn’t look identical to the one you’re removing, don’t force it.
- Adjusting spring tension to fix a door that’s out of balance for another reason. If your door is heavy on one side, the problem may be a broken cable, a bent track, or a damaged panel, not the spring. Adjusting spring tension to compensate hides the real problem until it fails catastrophically.
- Leaving the door in a vulnerable interim state overnight. A door propped open with a clamp is an invitation to Sacramento’s property crime rates. If you can’t finish a job by evening, close the door and finish tomorrow, even if it means working around the inconvenience.
When to Call a Professional
Call a professional when the job involves torsion springs, extension springs under tension, frayed cables, or a door that won’t stay open without a prop. Call when the door has crashed down or flown up unexpectedly, because that means the balance system has failed in a way that’s actively dangerous. Call when you’ve tried a repair and the door doesn’t work smoothly afterward, because now you’re chasing your own repair. And call when the opener is making grinding noises but the door still moves, because that’s likely a gear failure that will strand you the next time it cycles. Fernbrook Garage Doors Sacramento home service area covers the city and surrounding neighborhoods, and a live person answers the phone 24/7 at (279) 236-2640. We offer free estimates in Sacramento, which means you can get a written price before deciding how to proceed.
Frequently Asked Questions
It’s worth it for low-risk tasks like lubricating rollers, tightening bolts, and replacing weatherstripping, which together cost $15 to $60 in materials and take under an hour. It’s not worth it for torsion spring or cable work, where a mistake can cause serious injury and the professional cost of $180 to $340 for a spring replacement is less than most emergency room deductibles.
You can safely lubricate springs, hinges, and rollers with a silicone or lithium lubricant; replace the bottom weatherstripping; tighten the bolts and fasteners you can see; and adjust the opener’s limit switches using the manual. These tasks involve gravity and friction, not stored mechanical energy, and they’re all under an hour of work.
Yes, in rare cases, and the more common outcome is a severe hand or facial injury. A torsion spring releases its stored torque in milliseconds when a winding bar slips, and the force is enough to fracture bones and cause deep lacerations. This is why professional spring replacement exists as a specialty and why it’s the one task we most strongly direct homeowners away from.
Replacing a single torsion spring in Sacramento typically costs $180 to $340 including parts and labor, and replacing both springs at once costs $280 to $500. The exact price depends on your door’s weight, height, and spring wire gauge, and a written quote before work starts should include all of those details; for context on pricing, see our Garage Door Cost Breakdown: The Sacramento Homeowner’s Reference for 2026. Call (279) 236-2640 for an exact quote; estimates are free.
No, replacing a garage door with a door of the same size requires no permit in the City of Sacramento. Converting the garage to living space or changing the structural opening requires a building permit and engineer-stamped plans, and HOA-governed neighborhoods may have their own design rules.
Most torsion springs are rated for 10,000 cycles, which translates to 7 to 10 years of normal use in a typical Sacramento household that opens and closes the door three to four times a day. Higher-cycle springs rated for 20,000 cycles last roughly twice as long and cost about 30% more, which is a worthwhile upgrade if you plan to stay in the home.
The Bottom Line
Sacramento homeowners can handle roughly a third of common garage door maintenance tasks safely and well, and those tasks recur often enough that learning them pays off. Lubrication, weatherstripping, and bolt-tightening are within reach for anyone who can read a manual and use a wrench. Torsion spring replacement, cable work, and full door installation are not DIY tasks, and the distinction has nothing to do with skill or courage. It has to do with stored energy, heavy panels, and the fact that a professional’s written assessment protects you if the problem recurs. If you’re unsure where a specific job falls, call (279) 236-2640 and ask. We’ll tell you honestly whether you can do it yourself, and if you can’t, we’ll quote you a written price before any work begins.
Written by Jesse Calder, Owner at Fernbrook Garage Doors Sacramento, serving Sacramento since 2002.
See the difference
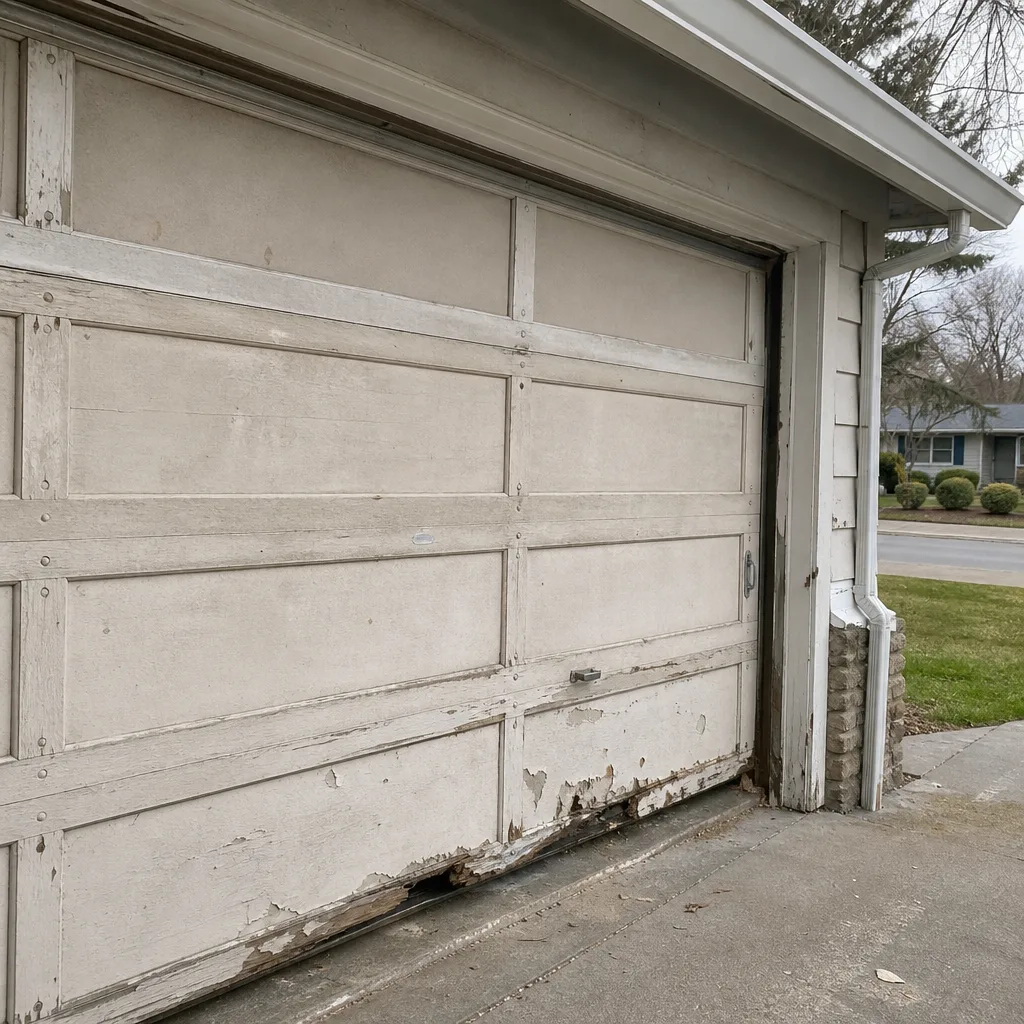 Before
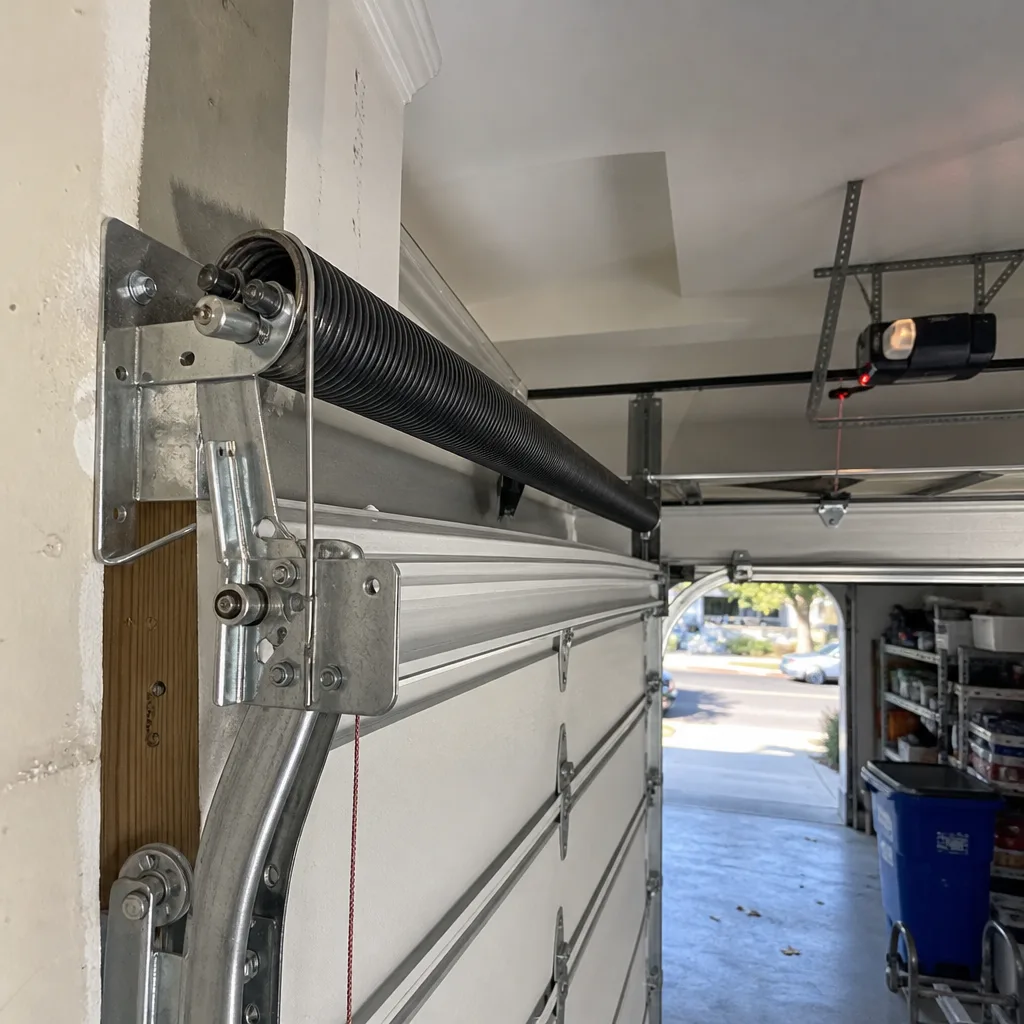 After
After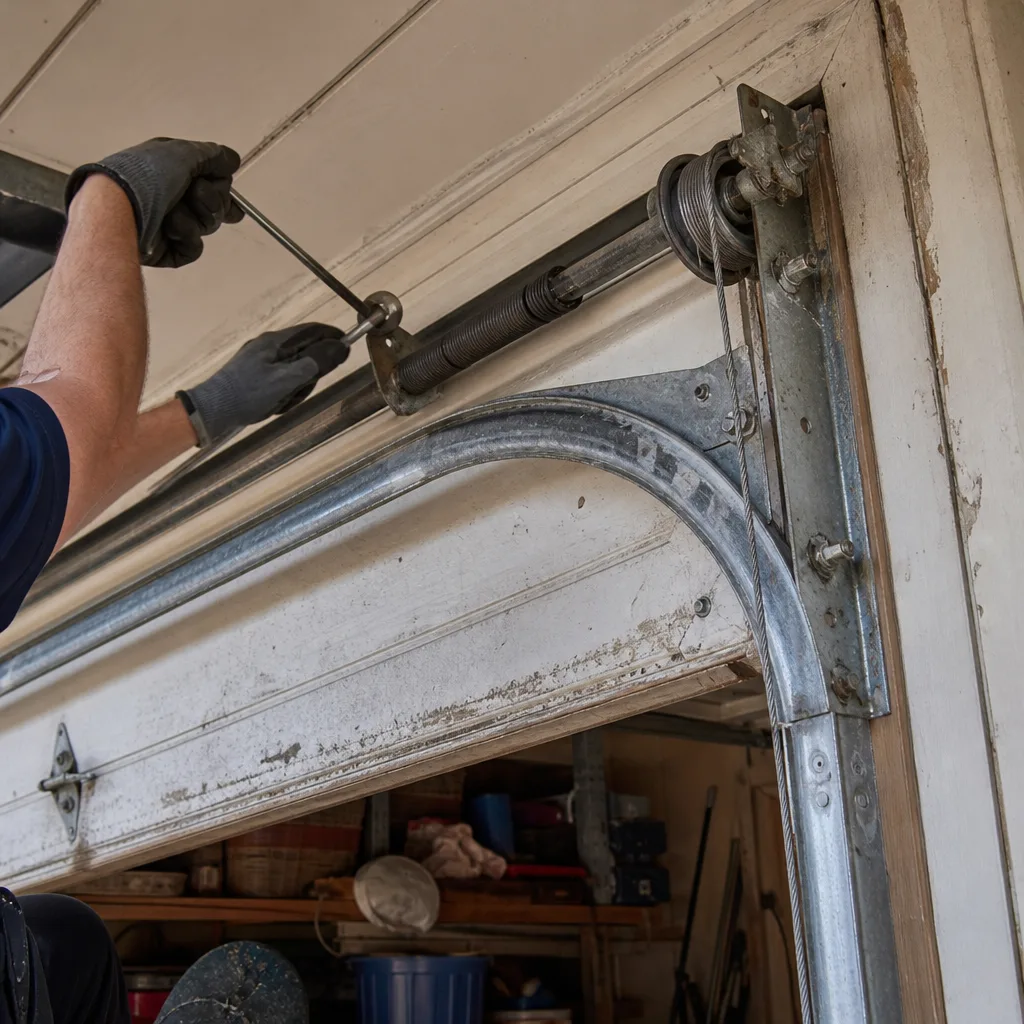 Before
 After
After